

In order to present our work we mostly used Blogger. However was also used Youtube and social networking sites such as Twitter and Facebook. Using Blogger meant we could post images, links, videos and also written work. Some of the images we posted on Blogger included mocks ups, our draft and comleted storyboards and examples of other horror films film poster such as One Missed Call. This is our youtube page http://www.youtube.com/user/ScreamCityProduction which we used to enable us to upload our pratice shots, screen recording film poster and various other videos. At first using youtube was very challenging. This is because at times it wasn't allowing us to upload our videos. However, after using youtube more frequently we were able to solve this problem.
This is one of the first videos that we uploaded onto Youtube. The purpose of this video is to improve our knowledge of how to make an effective teaser trailer as well as improving our understanding of Final Cut Pro. An advantage of doing this earlier in the course meant that we could explore other options and use whether or not they'll be useful when it comes to making our horror teaser trailer. Without using Youtube we couldn't have been able to upload all our work, do research on other horror teaser trailers and spot what usually occurs in a horror teaser trailer.
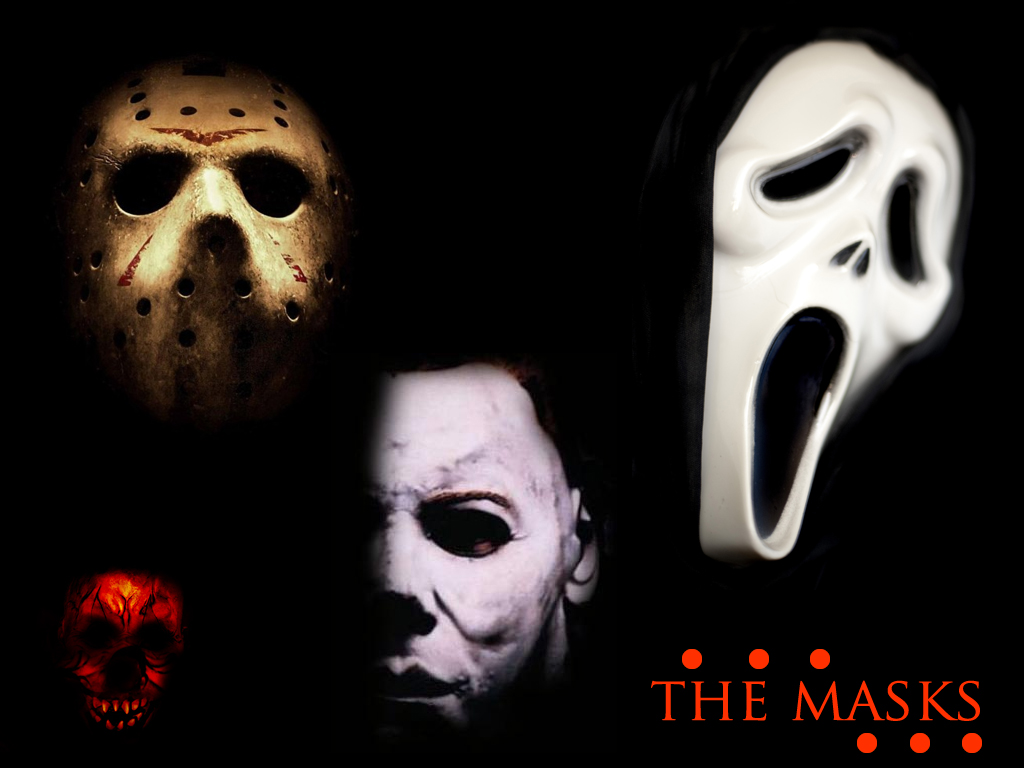
 Some of the horror films that we watched online and on Blue-Ray for inspiration were Halloween, A Nightmare On Elm Street and One Missed Call. The advantage of having so many ways to watch these films meant we could just simply choose which one we prefered. For example watching any of these films on Blu-Ray meant there would be greater definition, as opposed to watching it on DVD. Even though all these horror films inspired us the one that truly stood out the most was One Missed Call. This is because it's similar to what we orginally had planned for our horror teaser trailer, so as a group we felt that it would be benficial to do more research on this film. These two websites helped us to do more research on this film. http://en.wikipedia.org/wiki/One_Missed_Call_(2008_film) and http://www.imdb.com/title/tt0479968/
By using the internet it allowed us to do numerous things such as doing research on horror films, target audience, film industry, tutorials and comparing how long most horror teaser trailers last for, seeing as how we felt it would be more suitable if our horror teaser trailer lasted no longer than a minute. Some of the earlier videos we done include a lighting tutorials video which Dominic demonstrates on how to use. During the video he shows how to turn the Kino flo diva light 100 on and off and how to rotate it which he describes as making it more accessible and easy. Additionally, he also speaks about how to adjust the height of the Kina flo diva light 100. This again highlights our ability to practice with the equipment.
As well as making tutorials we also recorded many other videos. Here is a video of Ms Robertson demonstrating on how to apply fake blood. Although we didn't use any fake blood in our teaser trailer thanks to Ms's demonstration we have now learnt another important skill. Moreover, in the video you also see someone else demonstrating how easy and quick it is to apply fake blood.
During the production stage we felt it was essential to do practice test shots. This is because, in order to feel prepared for when it was finally time to film our actual horror teaser trailer we wanted to experience what it was like and whether there was any pressure. At times we weren't able to upload some of our videos onto youtube because of the colleges computer network, or do any research on horror films due to there being blocked sites. However, we were able to find a solution to this problem. At first we found it difficult to assemble the tripod without the aid of our teacher. This is because we wasn't familiar with using it. Thankfully as we began to frequently use the tripod we started to get more familiar with it and no longer experienced any more problems.

As a group we came up with plenty of ideas, and in the end we created a storyboard so that we could struture the scenes of our teaser trailer. As you can see we have many scenes in our storyboard and drawing the storyboard was pretty much straightforward. This is because we already knew what should and shouldn't feature in a storyboard due to looking at various examples, so this in a sence gave us a massive advantage. This is a random example of a storyboard we looked at http://www.fuse-studio.co.uk/wp-content/uploads/2007/08/storyboard-3.jpg then after we looked at a horror film storyboard http://farm5.staticflickr.com/4054/4300035814_e36190b34c_z.jpg?zz=1


Here is another example we put together of some of the ideas we came up with. As you can see there's a phone in each mock up. This is because seeing as how our teaser trailer is based on a phone, we felt it was vital that the audience should be able to notice this on our film poster.
 This is a scene from our storyboard when we were shooting our teaser trailer at the studio. In actual fact we lost this scene which sadly highlights some of the problems groups such as us face. However, because we filmed a lot of scenes it evetually resulted in losing this scene being an advantage for our teaser trailer. Following health and safety rules while at the stuido was extremly important. This required us to follow rules such as no running around with equipment or running with props. This is because it was very important that no one got injured, or damaged any of the equipment. Additionally, another advantage we had was experiencing no problem with setting up the lighting. This was benefical because it meant we didn't have to waste any time on trying to fix it.
 The image manipulation software we used was Photoshop. By using Photoshop it enabled us to create our film poster, horror magazine and other mock ups which we did in order to explore our ideas. All of us were familiar with using Photoshop as we had to make a college magazine front cover, contents page and double page spread at AS level. The skills we learnt through doing that allowed us to achieve what we wanted to with regards to our film poster and magazine. Additionally, if any of us wanted more help with using Photoshop we could always just use youtube http://www.youtube.com/watch?v=__KkSu248OU as well as asking our peers. When aiming to follow magazine conventions we mostly used Google to do our reseach. Some of the conventions we found were: There's usuallly a masthead, barcode, selling line, coverlines, lots of pictures, and different colours. Heres an example of some of the convetions in our horror magazine.
The editing software we used to make our teaser trailer was Final Cut Pro. By using Final Cut Pro it enabled us to edit our teaser trailer effectively, and organise our footage in a professional way. One of the aims we had for using Final Cut Pro was that all of us should get involved regardless of whether we had little experience of using it. In order to make the best teaser trailer possible we commented on what should and shouldn't be included, as a way getting rid of footage that wasn't needed in order to not make our teaser trailer lengthy, as I'm sure the majority of other groups done. One of the targets we had was to make our teaser trailer under a minute. This is because after we done our research, thanks to Google, we found that most horror teaser trailers such as Saw 3D http://www.youtube.com/watch?v=zg0go2b3ekY, Insidious http://www.youtube.com/watch?v=vfxpvRRpyzE and Final Destination 5 http://www.youtube.com/watch?v=JU625g_Lh_k were all under a minute. Additionally, some of the video techniques we used were cuts, fades, captions and transitions.
 Some of the media technologies and social networking sites we used for marketing our horror teaser trailer were Youtube, Facebook, Blackberry and Twitter. This is because we noticed that the vast majority of our target audience use these sites on a daily basis due to it being so popular, so we felt it was essential to spread the word on these sites. Moreover we also noticed that word of mouth was common with our target audience so this was another advantage we felt we had. By using Facebook to distribute our horror teaser trailer this meant we would receive quick feedback on some of the strengths and weakness of our teaser trailer. It also meant we could compare videos to identify any competition, and once again our target audience use Facebook so this resulted in it being suitable to distribute our teaser trailer on this site. Furthermore, we also used Twitter and Blackberry to distribute our teaser trailer. As a stated earlier our target audience use these sites so this would allow us to get quick feedback, but also then we would be able to compare which site was more reliable and easier in terms of getting peoples opinions. Lastly, using Youtube to distribute our teaser trailer enabled us to recieve comments from other Youtube users. This once again highlights the advantage of using media technologies such as Youtube to distribute teaser trailers.


